Package of General's graphite portrait drawing set featuring various pencils, a compressed charcoal stick, and a sharpener. The packaging includes a smiling woman's portrait and text in English and French.

Thank you for purchasing the Graphite Portrait Drawing Set with Justin Maas.

Below is the extended step-by-step drawing tutorial.

A realistic pencil drawing of a man wearing glasses and a cap, holding a pencil. He is resting his chin on his hand and has a thoughtful expression. The artwork uses shading to create depth and detail.

About Artist Justin Maas
Justin works primarily in pastel, charcoal. and graphite – his favourite subject matter is the human face and form.

“Great paintings and drawings communicate to us at an emotional level. Form, line and light are the main tools I work with. Regardless of the subject, style or media, the one constant, tying all of my work together, is an attempt to translate what we see as lights into a 2 dimensional piece.”

Justin is a senior signature member (SFCA) with the Federation of Canadian artists and an Elected Member (SCA) with the Society of Canadian artists.

JustinMaas.com

A sketch of a human head and neck outline on gray paper. The drawing features light pencil lines marking the general shape and alignment of the head, with emphasis on the central guidelines for facial features.
Step 1: Start with a good quality paper (I am using Strathmore toned sketch). This technique will work with white paper too, but by using a toned paper we can add white for the highlights! Using a 2h, begin by blocking in the overall shape and size of the portrait, paying attention to how it fits on the page.
A faint pencil sketch of a person's face with long, wavy hair, featuring an incomplete outline of eyes, nose, and a smiling mouth, drawn on a plain paper background.
Step 2: Lightly indicate key features like the nose, mouth and eyes. You can measure or eyeball your proportions but continue to use the 2H with a light touch so that your construction lines wont have to be erased when you being fleshing out your drawing.
A pencil sketch of a smiling person with long, wavy hair on gray paper. The outline features facial details and a partial view of the upper body.
Step 3: Apply slightly firmer pressure to begin to “lock in” your key features. Still try to keep it relatively light in case you need to change anything. Don’t get too hung up on details at this stage; the key here is to work from the general to the specific.
Sketch of a smiling person with wavy hair. The drawing is done in pencil, showing detailed facial features and hair texture on a plain background.
Step 4: Switching to an F pencil at this stage you will notice that your lines will be a bit darker. Try to keep your touch light still though, so that you can correct things as you add more lines to your portrait. Really evaluate your drawing at this stage. Correct, if necessary.
Pencil sketch of a smiling person with long, wavy hair. The drawing captures the person's facial features in soft, detailed lines on a gray background.
Step 5: Once you have the basic proportions of the face laid in with your 2H and F pencils, begin lightly adding in all of the areas that will be lighter or white. Remember that it is possible to add graphite over white charcoal but the reverse is not true.
Pencil sketch of a smiling woman with shoulder-length wavy hair, facing slightly to the side. Her expression is cheerful, and she is drawn with a focus on shading and detail.
Step 6: Using a 2B or 4B, begin to apply the darkest darks in the face. These will usually be the pupils, nostrils and the darks of the mouth. If you squint at your reference you may see them better.
Pencil drawing of a smiling woman with long, wavy hair. The portrait shows detailed shading on her face, while parts of her hair remain as outlined sketches, blending realism with unfinished elements.
Step 7: Now we begin to add in the values of the hair. This will help create a hierarchy of values for the whole drawing. Lay in darks using the 4B, 6B and 8B pencils. Blend them with the tortillion to really grind the graphite pigment into the paper, making your darks rich.
Pencil sketch of a smiling woman with wavy hair. The drawing is detailed on the left side of her face, gradually becoming more abstract on the right side.
Step 8: Now, simultaneously use lights and darks to build the values in your face. Switch back and forth between F, 2B and 4B to get those all-important mid-tones. The white charcoal and compressed charcoal stick will be used for the lights – be sure to vary pressure with your white pencils too, not just your graphite!
A detailed pencil drawing of a smiling woman with wavy, shoulder-length hair. The portrait captures her expressive eyes and cheerful expression against a plain background.
Step 9: Notice how your values “change” as you add in more of the large value masses of the hair. Of course they don’t actually change, but our perception of them does as we see darks begin to take over parts of the drawing. This is a crucial stage to get your midtones and skin values correct!
Black and white sketch of a smiling person with wavy, shoulder-length hair looking slightly to the side. The drawing showcases detailed shading and texture, highlighting the person's facial features and expression.
Step 10: In this stage you will “draw” with your erasers! Use the edge of the tri-tip eraser, or your kneaded eraser (shaped into a fine point) to lift out sections of hair by following the basic direction of hair from the reference.
A grayscale pencil drawing of a smiling woman with wavy hair. She is looking over her shoulder. The shading highlights her facial features and hair texture. The background is plain, emphasizing the subject.
Step 11: Switching back and forth between erasing, drawing and smudging with your erasers, pencils and tortillions respectively, you will flesh out the values in the hair.
A pencil sketch of a smiling woman with long, wavy hair. She is looking over her shoulder. The artwork beautifully captures the texture of her hair and the warmth in her expression.
Step 12: Darken up the hair with the softest pencils (6B and 88) and once you feel like the shapes are working how you want them, add in some white highlights. Remember to erase out some of the graphite so that your white charcoal (stick or pencil) will have a ‘landing spot’ to stick to since it won’t stick on top of the graphite.
A black and white pencil sketch of a woman with wavy hair, smiling gently. The detailed drawing captures her facial features, including a nose ring. The background is plain, emphasizing her expression and hairstyle.
Step 13: Using your harder pencils (F and 2H) go back into the face and deepen the midtones, effectively “blending with your pencil.” You may be tempted to blend this area with a tortillion but remember: white charcoal and graphite dont mix so you will likely end up with a bit of a muddy mess if you do. Layering hard graphite over top of the values in the face will help smooth out the transitions in those tones. Be sure to keep your pencils sharp in this stage!
A grayscale pencil portrait of a smiling person with wavy, shoulder-length hair. The background has a textured, sketch-like quality with light brushstrokes.
Step 14: Continue to develop the values throughout, using the full spectrum of the pencil range – 6B and 8B for the dark darks and sparingly add in more white for the highlights. As a final touch, you can also add white charcoal using the compressed Charcoal White® sticks (you may find it helpful to break them into a couple of smaller pieces rather than using the whole stick) around the outside of the portrait. Be sure to bring back in some fly-away hairs over top to tie the background into the portrait.

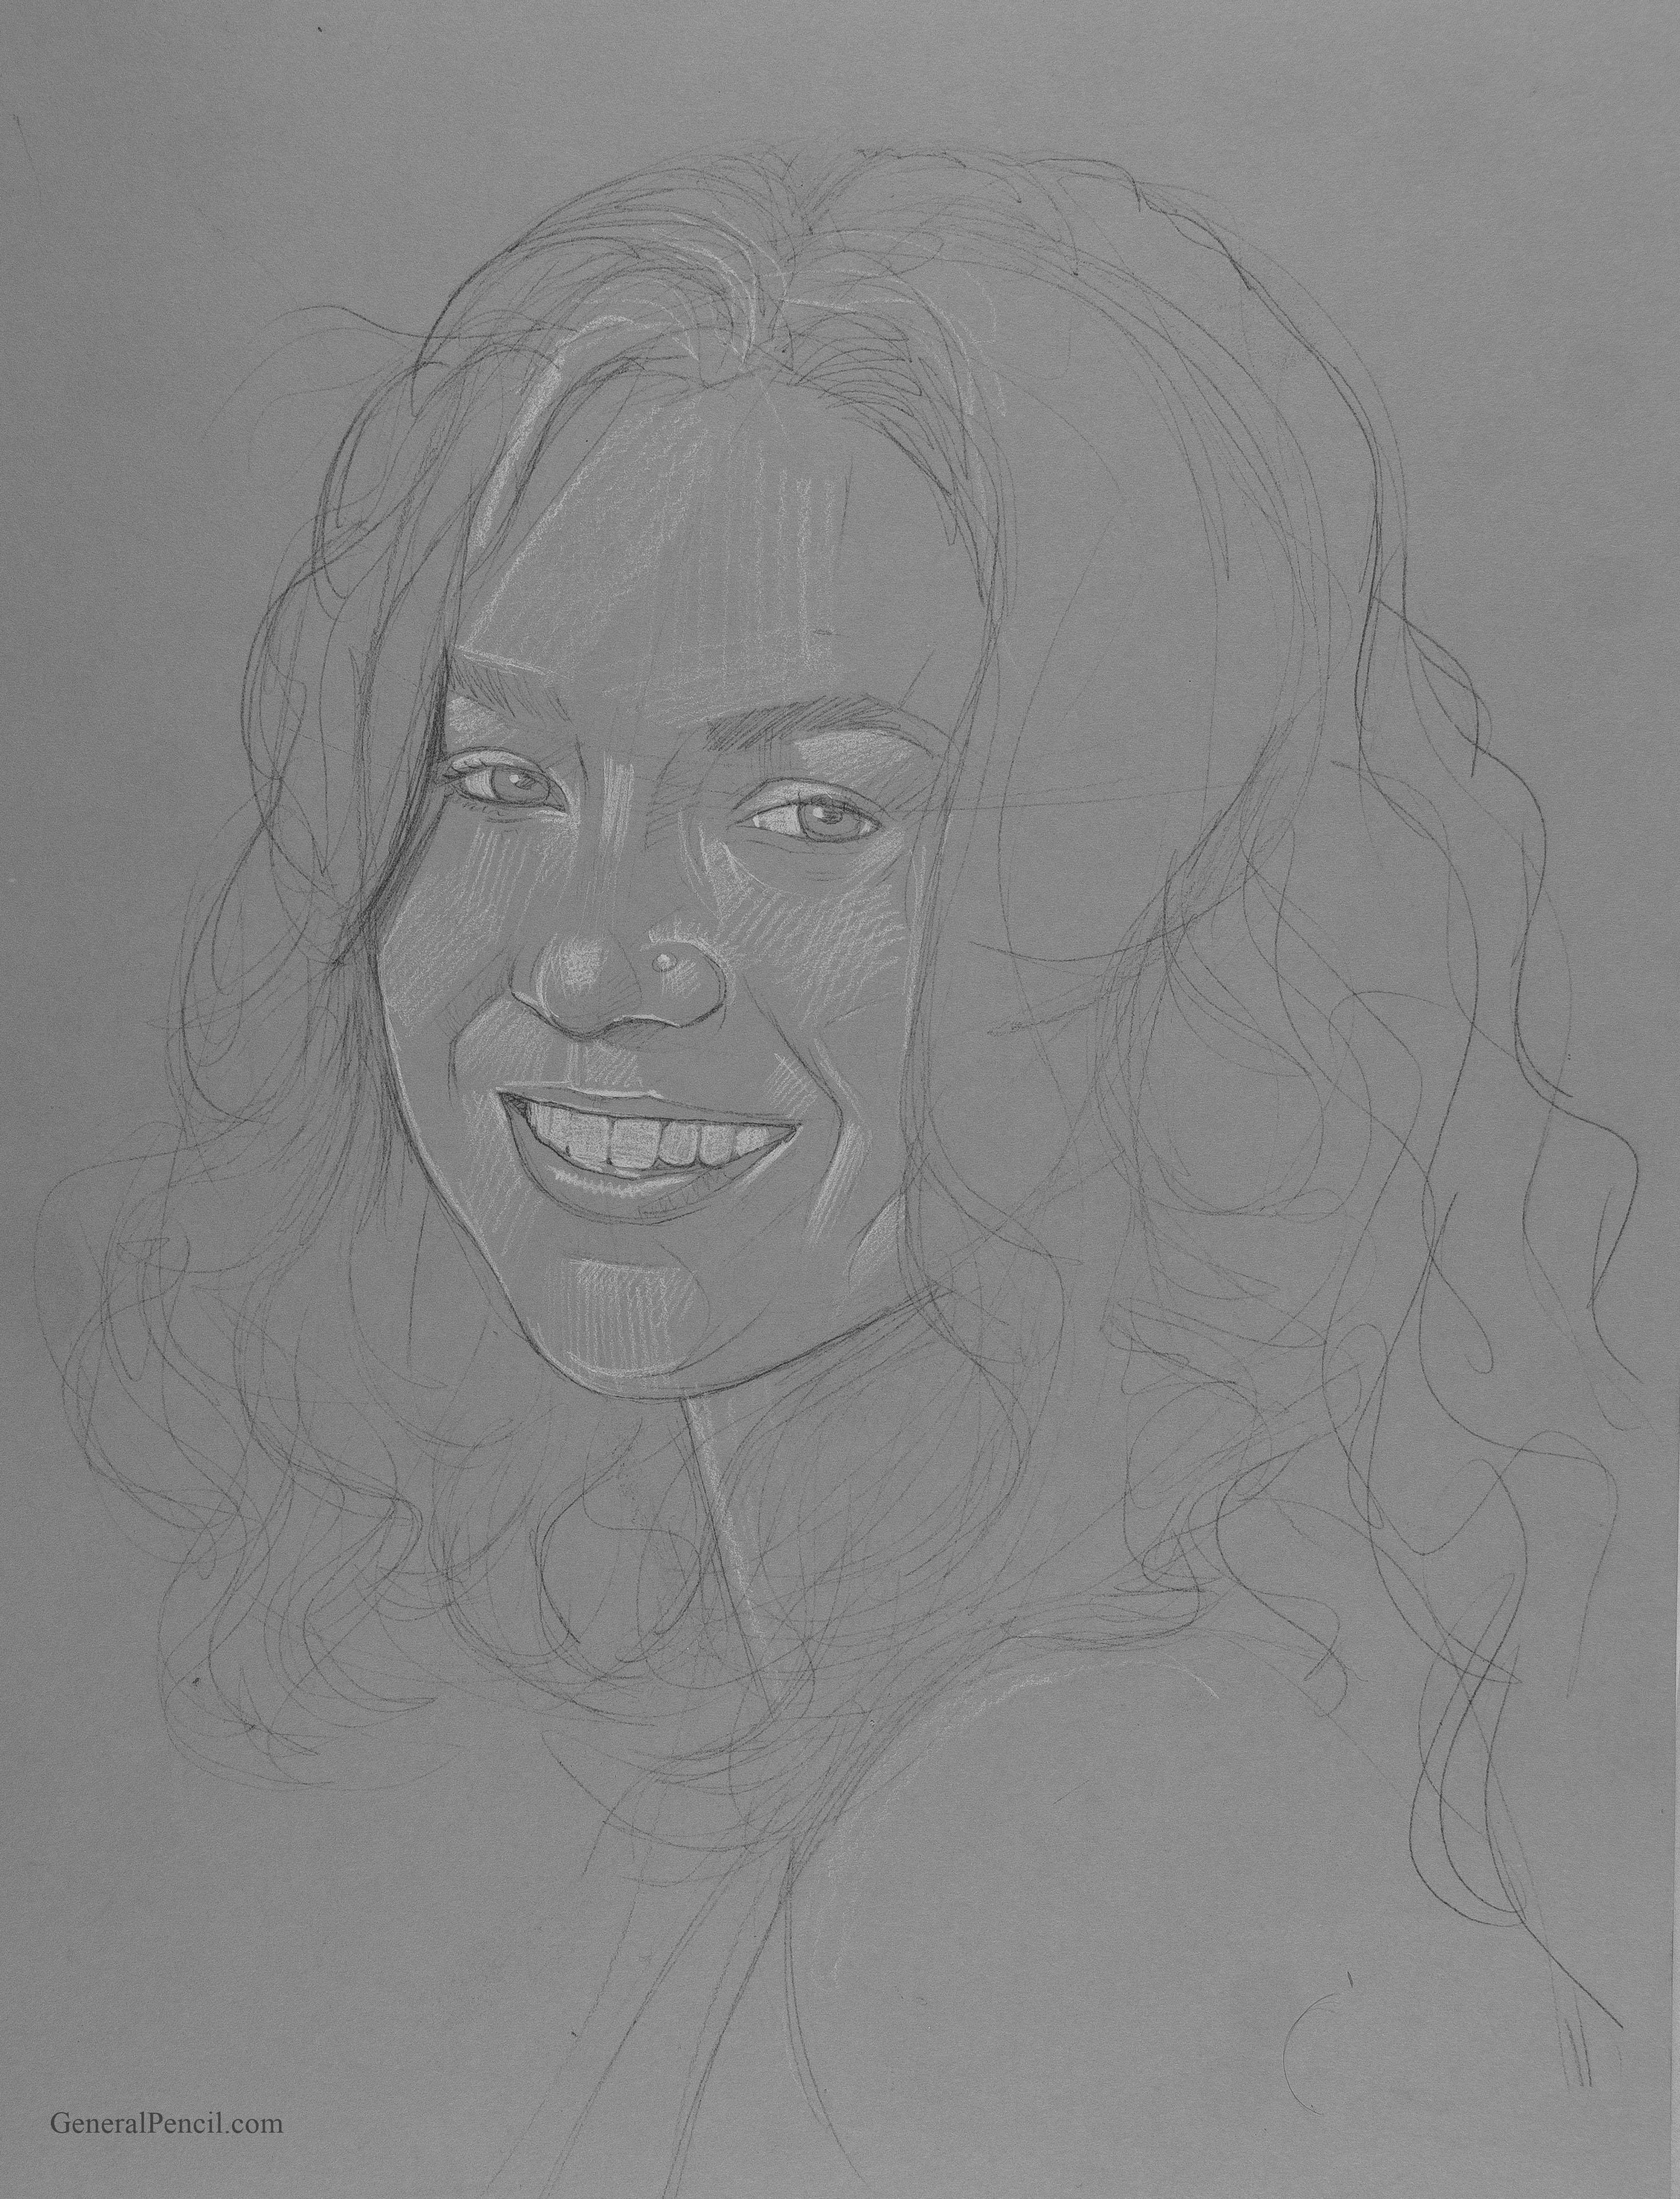
Add in finishing touches of white highlights to the eyes, teeth, andany other dark darks to bring out the contrast!